This is how I got on...
I did struggle a little getting flannel fabric which I eventually bought from a ebay retailer- there wasn't a great choice of colours and much to my annoyance the three meters I purchased came up rather short along the one edge- 80cms!!! Due to this I was not able to make a square mat (well I could have but it would have been pretty small!) Any way I laid out my fabrics- three layers of flannel topped by the cotton patterned fabric (I went for a neutral colour with cute elephants on- also from ebay but I did get a full meter from this seller!)

One really important part of making this blanket is that you find the bias as you need to stitch in rows along the bias so when you cut the flannel it frays in the right way. I ironed a crease to mark the first stitching line so I had something to follow (in the tutorial she uses a piece of string and a fabric pen I think).

Before you start stitching you have to pin the layers together securely- mine didn't line up very well as you can see but you square the blanket up later so it still worked out ok. The layers do move a bit when stitching anyway.

I used just a normal straight stitch, starting with the centre crease I had ironed along the bias.

As you can see I managed to pucker the flannel- I carried on anyway and to be honest once the flannel is cut and frayed you can't see it so I figure its ok.

It takes a while to sew all the lines- and plenty of thread, I used nearly 200m in total. Clearly I'm not the best at sewing in straight lines and the lines which were closer together (approx 1/2" apart rather than 3/4-1" apart) worked better once frayed- just something to bear in mind!

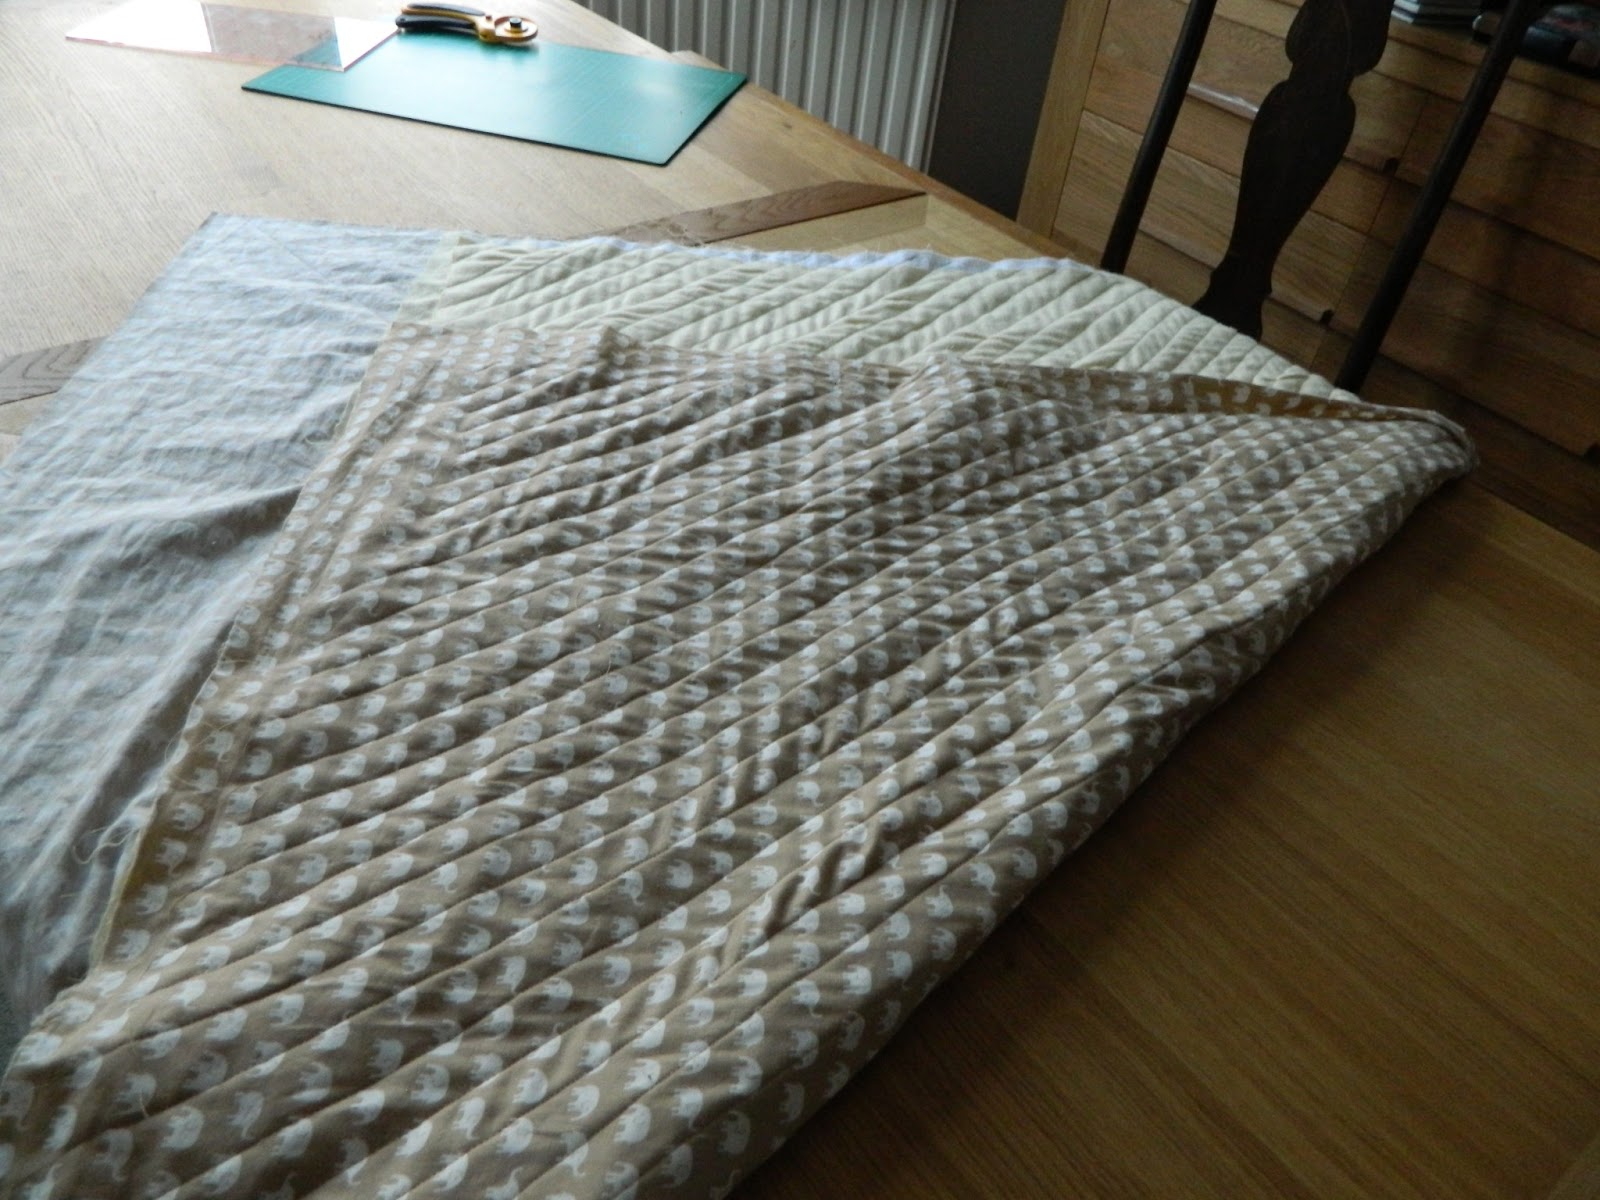
Once you've sewn all your lines you should have something which looks a bit like this- probably a bit neater!
Next job is to cut the flannel between the stitching lines- prepare for hand-ache, you could do it it batches if you are not as impatient as I am!!


Then you need to square up all the layers of you fabric so you'll be able to bind the blanket edges (sorry about the colour of the pic!!).

I used a bowl to round the corners...if you have managed to get you blanket square and lovely then it is probably a good idea to use the bowl for one corner and then use that corner as a template for the other corners so that they all match.

The final stage before chucking the blanket in the wash to fray is binding. I used bias binding to do this but you could just as easily make your own if you want something particular (well maybe not quite as easily but you know what I mean!).

There are lots of tutorials about binding. After pinning the binding on right sides to right sides with an opened out edge lined up to the raw edge of the blanket I machine sewed along the first crease right round the blanket edge.


Here is the blanket with the binding completed...

All there is left to do now is chuck it in the washing machine and fingers crossed it frays ok (I wasn't sensible enough to do a test strip first!!) I put mine though on a quick was with a mild detergent and on full spin and then into the tumble dryer until dry...and here it is...
Thanks for looking x
No comments:
Post a Comment